After you have loaded our visualization, you are surely asking yourself what to do now. That’s what we’re going to explain to you here in this tutorial.
1. Drag Visual onto worksheet

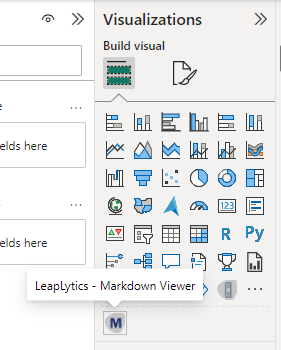
Open Microsoft Power BI and the relevant report or worksheet, where you want to use the “Markdown Viewer” visual. Open your worksheet in edit mode and you will find the “Markdown Viewer” visual as well as all your other purchased LeapLytics products within the “Visualizations” section. Click on the visual to place it on your worksheet (You can change the appearance of the visual later via the “Format” pane).
2. Property panel

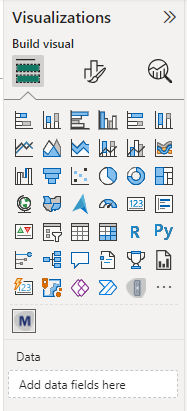
After you have placed one or multiple instances of the visual on your dashboard, the properties panel will appear on the right side. The properties panel is separated into the sections “Fields”, “Format” and “Analytics”.
In the following chapters, you will learn how to use LeapLytics “Markdown Viewer” visual and how to customize it to your needs by using the properties correctly.
3. Add measure

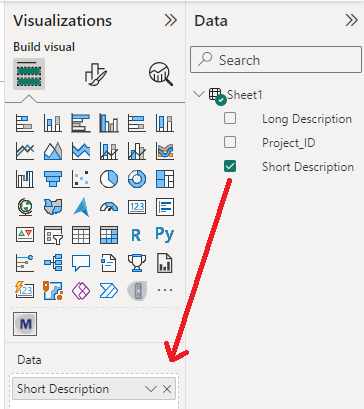
Select a dimension from the “Data” section by clicking on it or dragging it onto the “Data”-field of the visual.
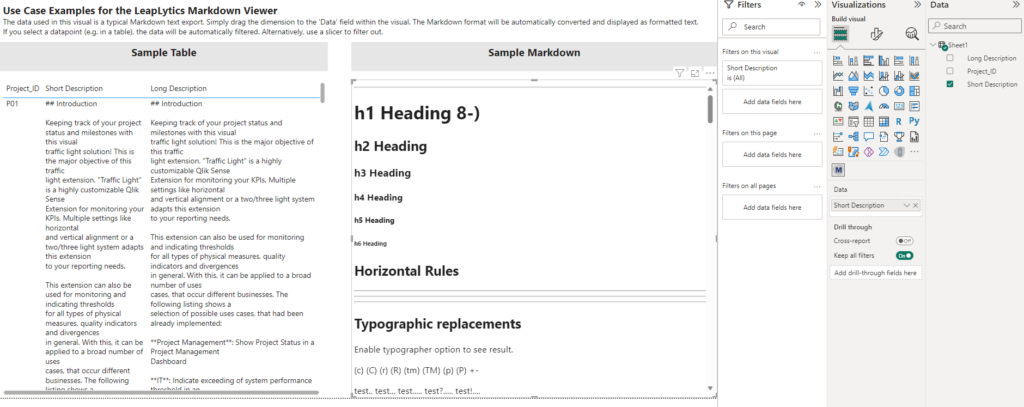
When using our Markdown Viewer, it must be ensured, that the data of a dimension is in Markdown format.
4. Result
